

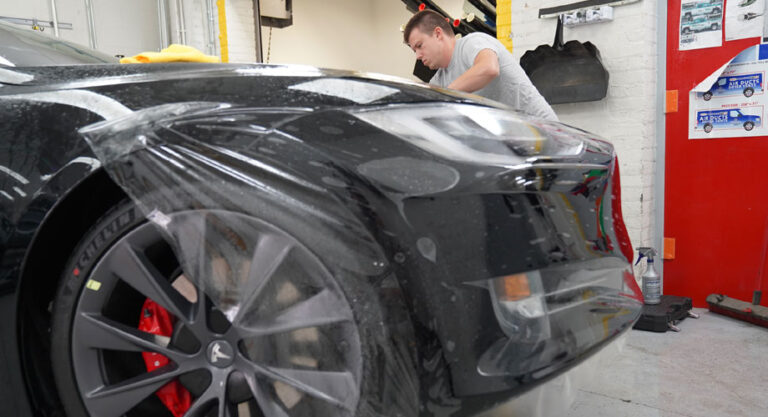
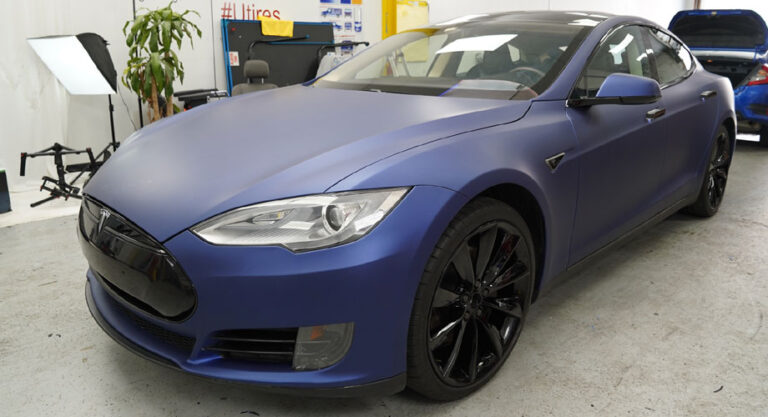


How to Wrap Your Car: A Guide to Avoid Paying Twice
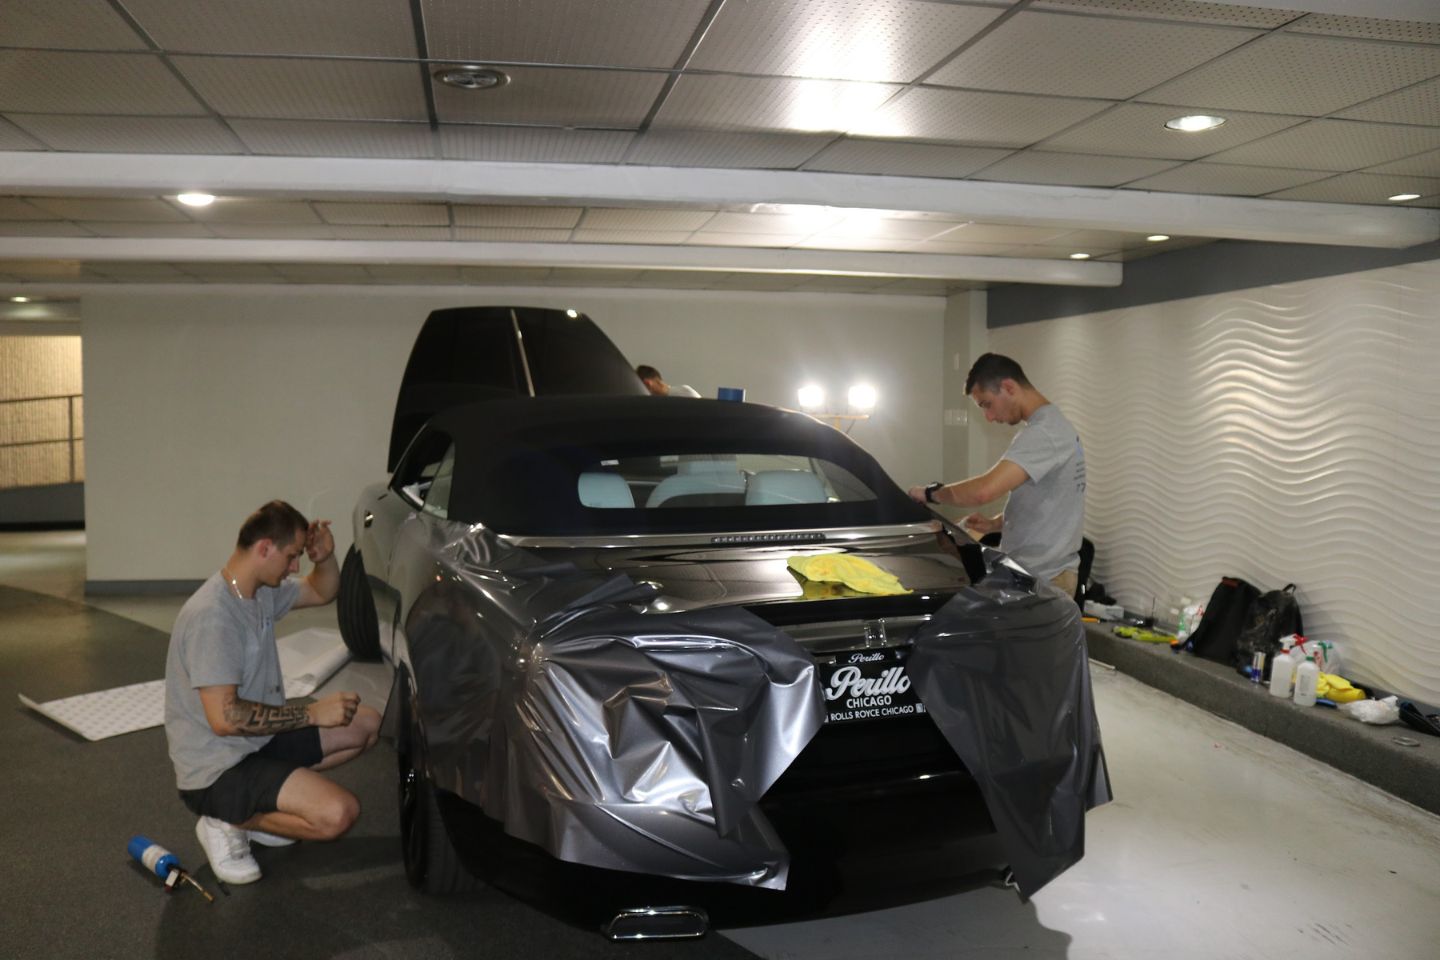
When users see the average cost of services for applying vinyl wrap, they often contemplate whether it’s more cost-effective to perform a DIY wrap car and save money. However, they frequently overlook the difficulties that arise when working with vinyl. The result may include wasted material, frayed nerves, and possibly damage to the car’s body or paint job.
Our packages Recent reviews
Of course, you can try to purchase a hypothetical DIY car wrap kit and apply it to your vehicle. However, you will likely encounter issues such as an air bubble under the film, wrinkle on complex surfaces, and more. Without the proper tools (squeegee), you might even risk sending your brand-new car vinyl wrap kit to the secondary market. It is better to entrust this work to the professionals from the TintingChicago shop.
The experts at TintingChicago have prepared material for you, detailing the nuances of vinyl wrap installation, common problems, and methods to resolve them.
| View all packages | Coupe/Sedan | SUV/Pickup |
| Full car (all exterior) | from $3800 | from $4000 |
| Hood | from $249 | from $279 |
| Roof | from $279 | from $399 |
| Window trims | from $279 | from $299 |
| Racing stripes | from $699 | from $899 |
| Headlights or taillights | from $119 | from $139 |
| 1000+ reviews |
How to Vinyl Wrap a Car: Step-by-Step Description of Processes
How to wrap a car is a question that concerns car owners accustomed to doing things themselves. However, there is no definitive answer to it because the process requires not only a car wrap kit but also skills and knowledge of wrapping peculiarities.
You shouldn’t worry about how much vinyl to wrap a car you need, as this is determined directly during the work process. No car wrap calculator will help calculate material volumes. As a result, you may end up with leftover film, or worse, not enough of it.
Want to know if can you wrap a car yourself? Look at the typical process and answer whether you can do it yourself. If not, TintingChicago experts are ready to help you.
Disassembling the Car
Before you think about whether can I wrap my own car, at least watch a video of your car being disassembled. For comprehensive vinyl wrapping, you need to literally dismantle:
- Bumpers
- Side sills
- Spoiler
- Plastic covers
- Fenders
- Hood/trunk lid
- Rubber seals
- Partially inner plastic panels
- Doors and panels
- Mirrors
Seems straightforward, doesn’t it? But in practice, you’ll get the answer to the question, “How hard is it to wrap a car?”
Note that this is only the initial stage of the DIY vinyl car wrap process. Entrust this task to professionals and get an excellent result.
Preparing the Material
The next step is to purchase a vinyl wrap kit, work with a vinyl wrap calculator, and adjust the templates to the actual application surface. If you are asking yourself, “How much wrap do I need for my car?” then you can use the calculator, although it still doesn’t guarantee you’ll secure enough material. This is because you’re likely to make size errors during the car wrap installation process, cutting larger or smaller pieces of the film.
You can use pre-cut vinyl wrap kits for flat surfaces like the hood. However, the proper adhesion of the film depends on various factors, such as the surface’s preparation and the accuracy of the application process.
During a DIY car wrap vinyl, it’s essential to learn proper application techniques, working with folds, wrinkles, and ensuring proper tension. However, initially, it’s crucial to prepare the car components.
Preparing the Surface for Application
If you simply disassemble your vehicle and start to apply the film new vinyl, you won’t achieve a polished look for the film. Typically, metal and paint accumulate dust, preventing the decorative type of vinyl from evenly covering the surface.
Therefore, before starting a DIY vinyl wrap, you need to prepare the car components. This involves several essential steps:
- Car wash and drying of body elements. It’s important to ensure no dust, grease and wax, dirt, or imprints are left on them.
- Treating the surface with isopropyl alcohol. This degreases the surface, ensuring the vinyl film adheres securely due to the adhesive.
- Heat the vinyl. This is done directly during the application using a heat gun to lift the vinyl.
Typically, most enthusiasts abandon the idea of a DIY car wrap at this stage. If you’re still interested in how to wrap a car yourself, well, let’s continue.
Wrapping Each Body Component
Whether you use car wrap kits or rolls of material with cut vinyl, referring to a car wrap size chart or vinyl sheet, the application process is the same for all methods.
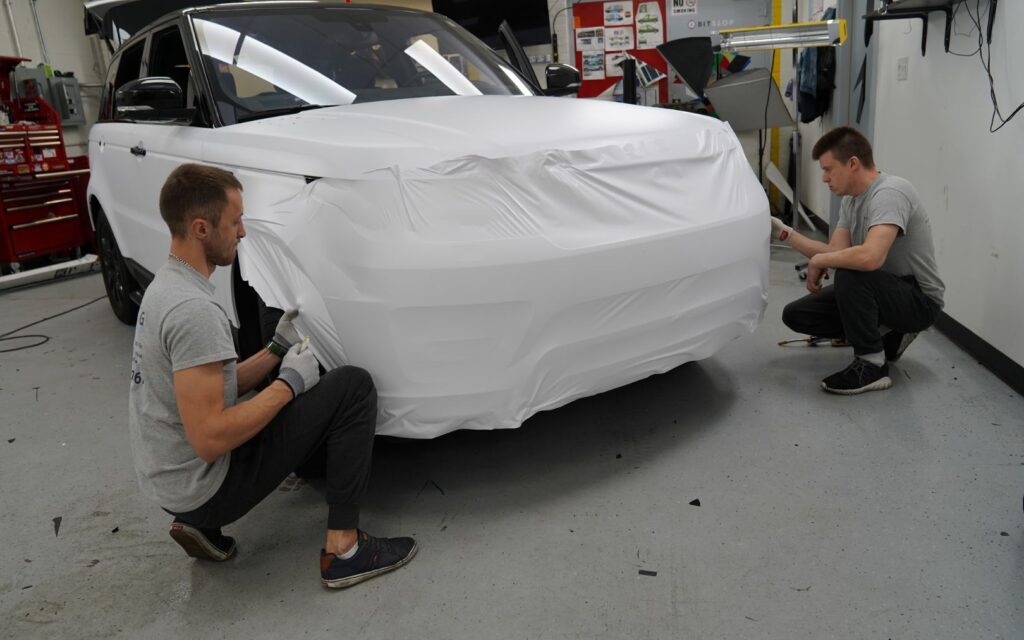
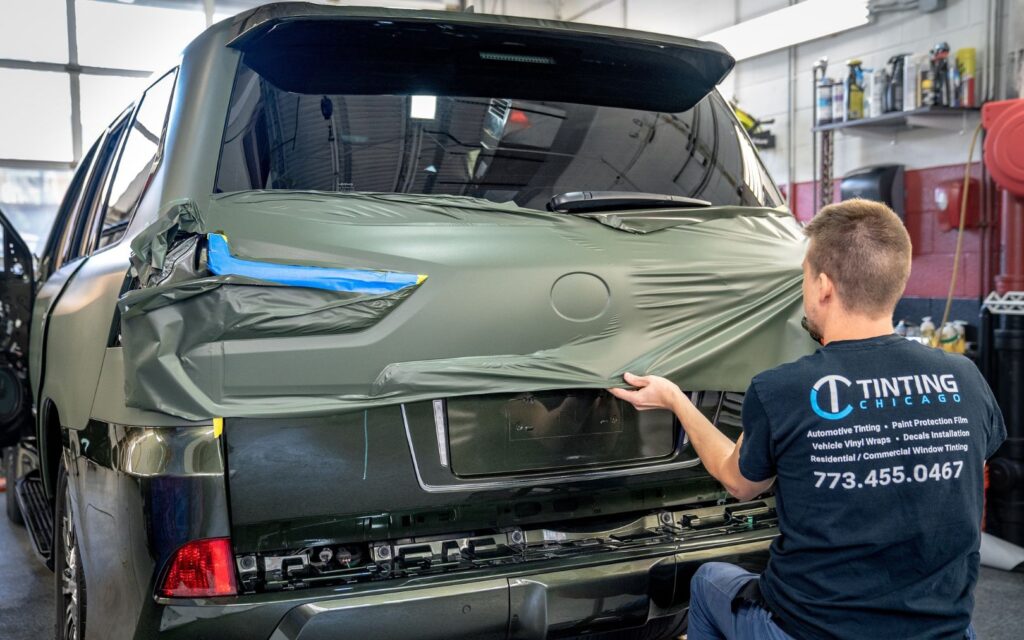
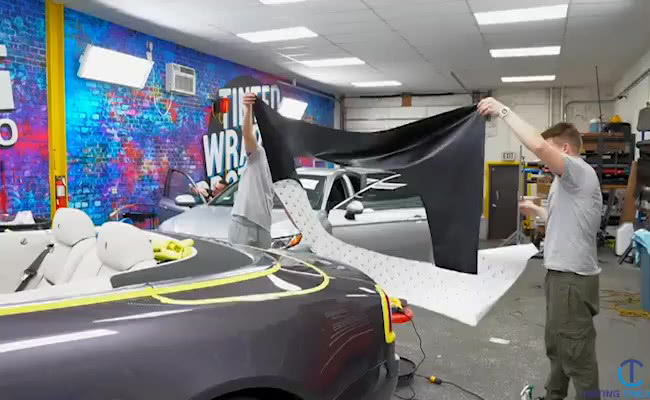
After you clean the surface, you need to heat the vinyl and start applying it from the flattest surface of the component (preferably from the edge). During a DIY vinyl wrap car, it’s essential to maintain a certain material tension, allowing it to literally wrap around a specific component. You also need to remember to tuck part of the material under the body, that is, to place the vinyl between body elements.
Avoiding overlap (keeping the vinyl taut and in a single layer, so you may need to place the vinyl or reposition the vinyl), air bubbles under the vinyl, and folds are essential. Excess vinyl should be trimmed, and you should remove the backing paper before starting the work. That’s the answer to the question, “How hard is it to wrap a car yourself?”
Adjusting the Application
Completed components should also be meticulously checked if any piece of vinyl is deformed or has air bubbles, folds, or a scratch. If necessary, the vinyl can be reheated and problematic areas corrected (edges of the panel). However, provided you understand how to do it.
Otherwise, you risk leaving these nuances and ruining the entire job if the film overheats. This would require you to peel off the vinyl, negating all your calculations on how much wrap to wrap a car.
Reassembling the Car Body
The final stage involves assembling all the removed elements onto the car body. It’s crucial to conduct the process with the utmost care to avoid damaging the film or accidentally detaching it.
Formally, this is all the information that could potentially help you calculate how many feet of vinyl to wrap a car and understand how to apply vinyl wrap. Considering the complexity of the described processes, the result’s dependence on the performer’s skills, and the availability of specialized tools, we still recommend seeking professional help.


